

Did you know there are two ways to save your sermon content using Sermonary?
Below is a description of how you can utilize each way depending on what suits your specific needs and workflow.
1. Autosave
By default, your Sermonary account is set to autosave. This means you don’t actively have to save anything when writing your sermon. Sermonary does the saving for you. When writing content, you will see an icon appear in the bottom right of your screen. This is an indication your sermon is actively being saved.

You can still continue working on your message even while this icon is being displayed. It is simply there to remind you your work is saving.
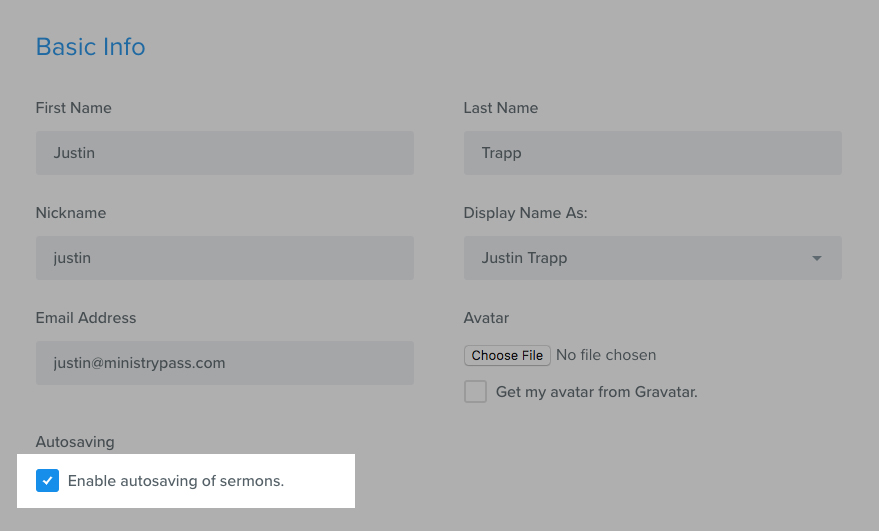
If you prefer to turn off our autosave feature, you do this simply by going to your account area in the top right hand corner of your screen, clicking your avatar and then unchecking the autosave box.
How To Turn Off Autosaving:
Step 1 – Click Avatar in Top Right

Step 2 – Uncheck the Autosave Feature
Step 3 – Click Update Account

This will put your account into manual save mode.
2. Manual Save
If your wi-fi connection is slow or spotty, our manual save feature may be the route to take. Some users like the peace of mind of manually saving as well. After turning autosave off, a Save Sermon button will appear in the top right of the Sermonary Editor.
We recommend saving your work every few blocks in order to maintain an efficient workflow without putting your recent work at risk.

If you have any questions about your account or the best way to utilize Sermonary’s save features, visit our Sermonary Help Center.